Reinstall a PC Centre computer
Computers in PC Centres are regularly automatically "reimaged" or reinstalled. This process deletes everything on the workstation's hard disk and lays down in its place a clean copy of Windows, configured as a University PC Centre computer.
It is possible to manually reinstall a PC Centre computer should you need to. If you prefer, though, you can just report a problem with a PC Centre PC to the IT Service Desk.
Reinstalling a PC can fix almost any software-related problem, such as virus infection, spyware, blue screens, or broken applications. Reimaging can't fix anything hardware-related, such as disk or memory problems, or overheating. If you think the issue is hardware-related or your try to reimage it as below and it fails, report the faulty PC to the IT Service Desk.
The reinstallation can take approximately 30 minutes.
How to reimage a PC Centre computer
- Restart the computer.
- During the boot process, you will see something like the screen below. Press F12 when you see the prompt Press F12 for network service boot.

- The machine can now be left unattended. The following details is just information about what you will see during the re-imaging process, or ways of speeding things up.
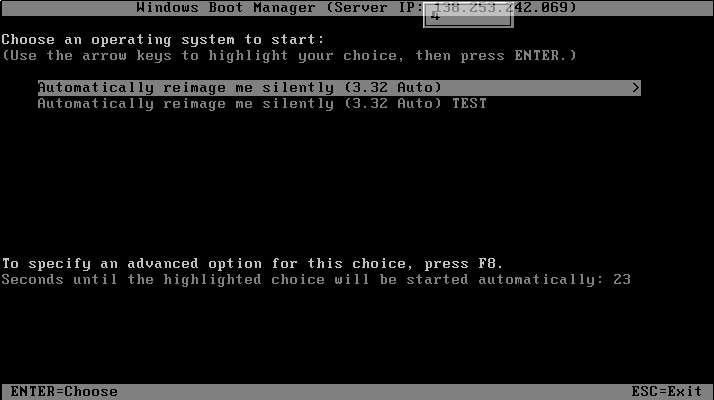
- After a few seconds you will see the following screen. Press Enter to select the first item in the menu.
- You should then see the re-imaging system starting to load:

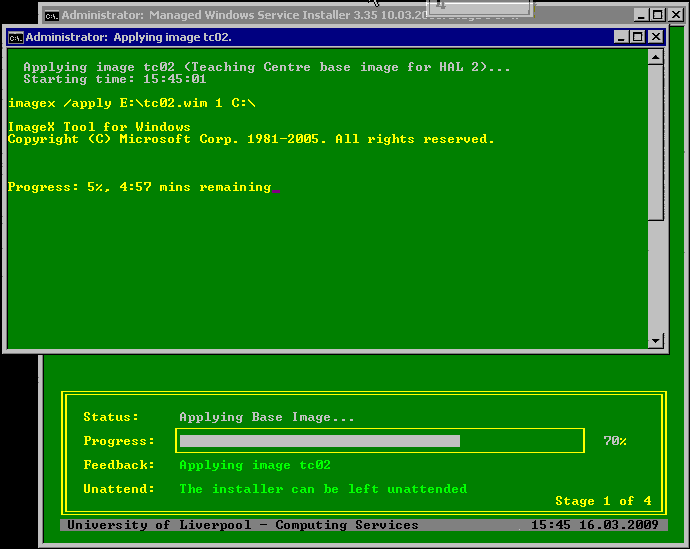
- The hard disk of the computer will be wiped. The screen will briefly display a summary of what it is about to do then the process of applying the fresh version of Windows will start:
The machine will restart several times before it finishes.
The installation process is entirely unattended - please do not use the keyboard or mouse until it finishes. Even if it looks like it is prompting you to do something, it isn't; it will answer the prompt by itself.
The workstation is finished when it stops at a Ctrl-Alt-Del screen.