Main menu
There are five buttons within the main menu to help you prepare for, preview, and record your content.
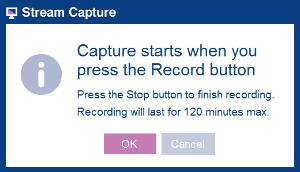
1. Record
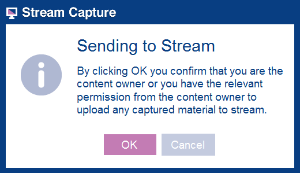
This will start a recording of up to 120 minutes (subject to disk space on the computer you are using). Once the recording is complete, Stream Capture will save your recording and/or send it to stream.liv.ac.uk and then close. If you have chosen to automatically upload your video to stream.liv.ac.uk, then you will be prompted to send the video by clicking OK to confirm that you have permission to upload the recording you have made.
 |
 |
|
Control your recording using the icons at the top of the screen. It is not possible to pause/resume audio-only recordings.
|
|
|
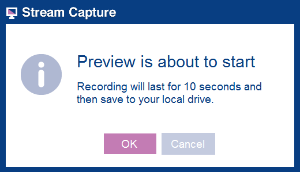
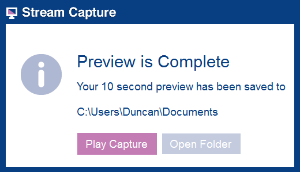
2. Preview
This will record a 10 second capture which you can use to check the settings you have selected. A preview recording can be played in the computer's default player (e.g. Windows Media Player) or can be opened in the folder in which it was saved.
 |
 |
3. Settings
You can make changes to your recording settings in five tabs (Capture Area, Mouse, Webcam, Audio, Saving) using the Settings option.
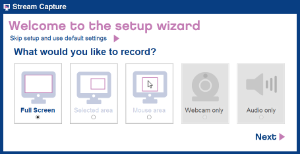
4. Setup Wizard
The setup wizard can be used to quickly establish the best settings for your recording. You can work through the wizard, step-by-step, using the options available to you.
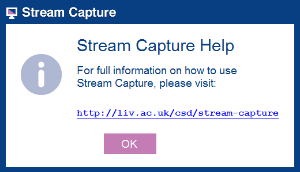
5. Help
The Help button will provide you with the web address for this website, so that you can quickly refer to the guidance and instructions held here for convenience.